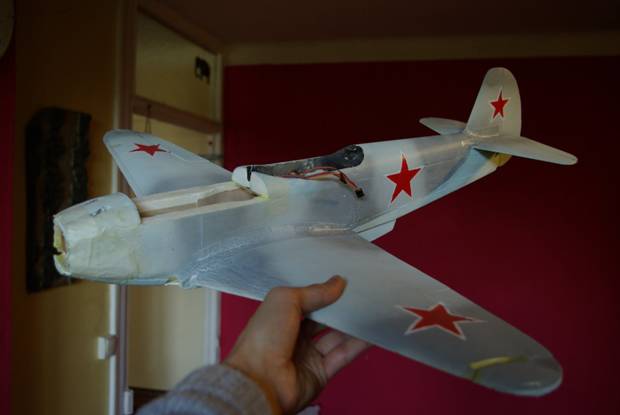
1/12 scale
Yak-3
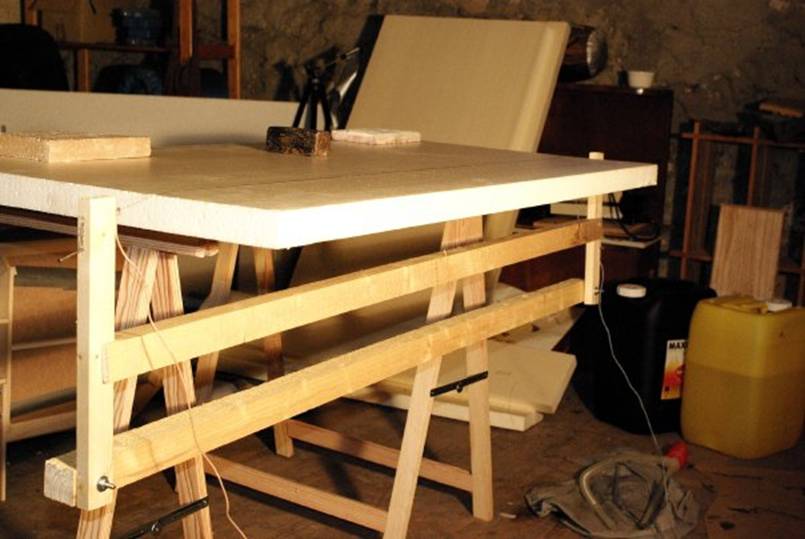
First step
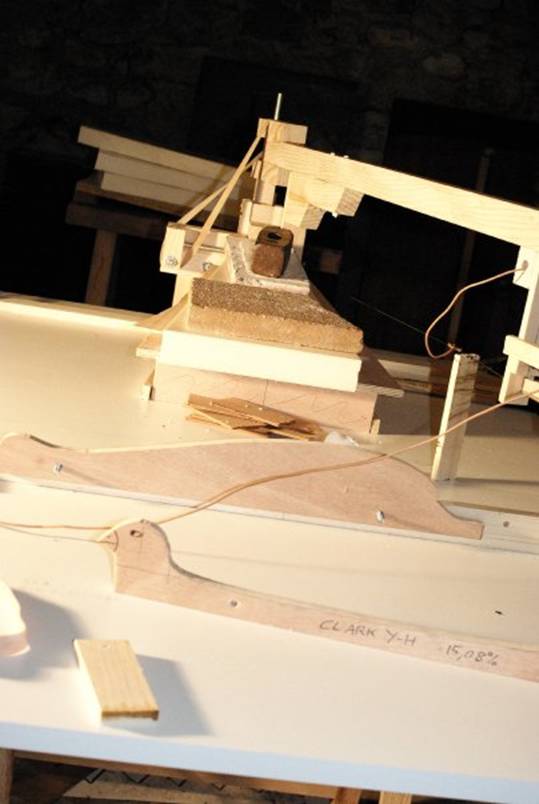
was to make a foam cutter able to produce trapezoidal wings; it leads to this
strange thing:

The brass rod follow the guide for the Clark YH airfoil:

Both axis are adjustable so that thickness ratio can be different
at wing root and tip:


Brass rod
and guitar tuner:


Guitar
tuner for the hot wire:

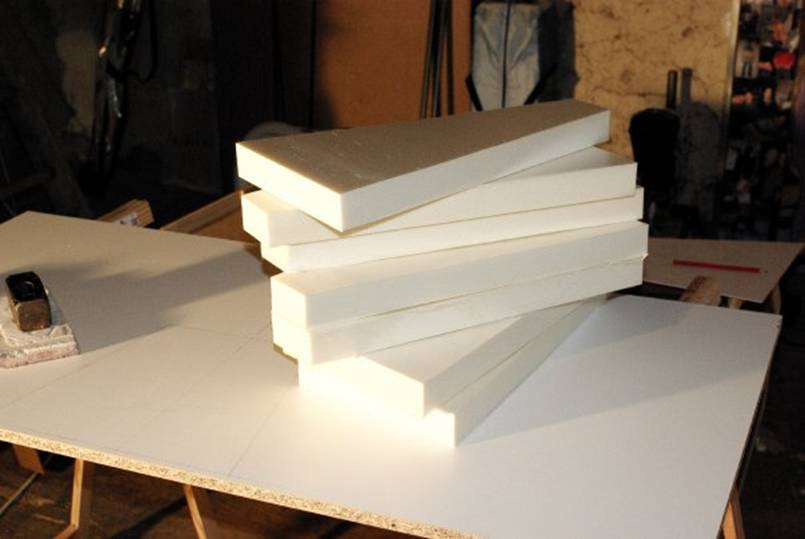
Here it is,
Clark YH section wing:

The
position of each axis must be adjusted to compensate for the “melting gap”
making the wing thinner than expected according to basic geometry:

Testing
foam resistance thanks to 1 liter of milk (the wing weights 8 g):

Looks like
the wing can be deformed a lot before it brakes (a video shows movements of the
wing tips in turns with amplitude of 2 cm):

This is how
I was cutting the wings with this old cutter; it’s quit the same with the new one).
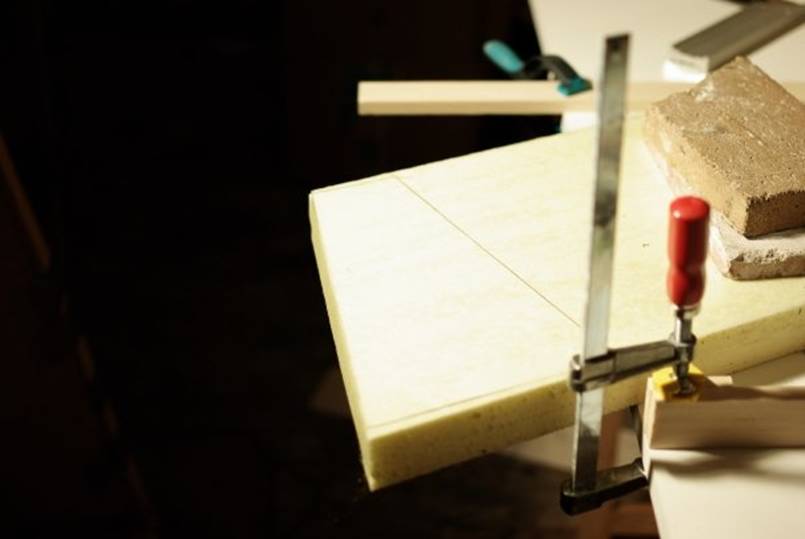
First, draw
large wing shapes:

Cut it with
a simple gravity cutter:


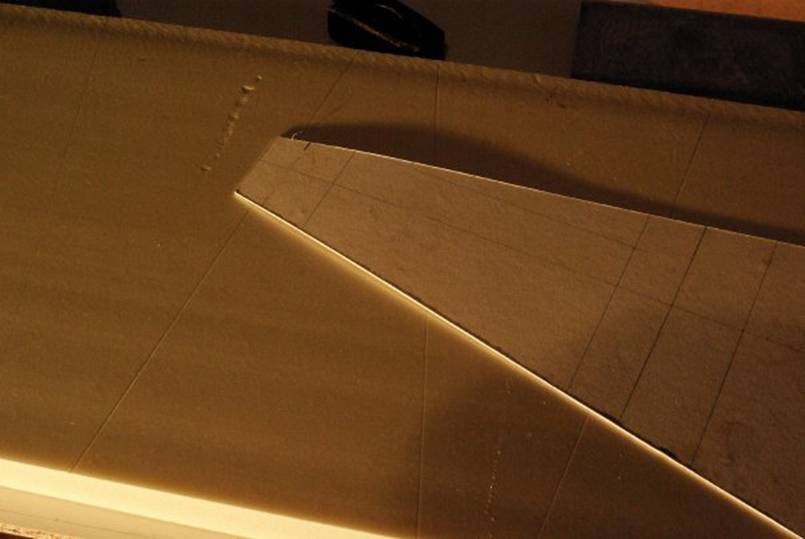
Put the
shape under the wing cutter at the right position (a whole mess):

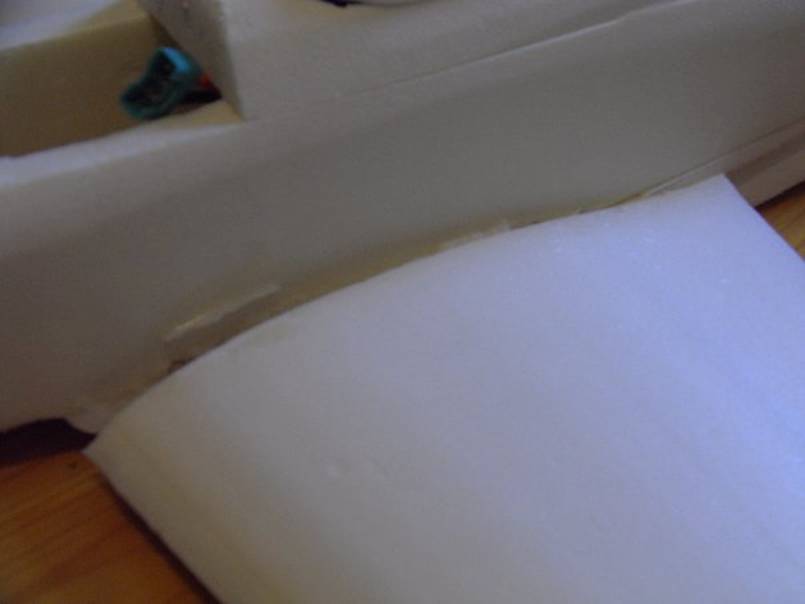
Cut
extrados :


And
intrados:

Playing
with sketch up:


First
prototype:


The only
plans I have:

Smaller “precision”
cutter:


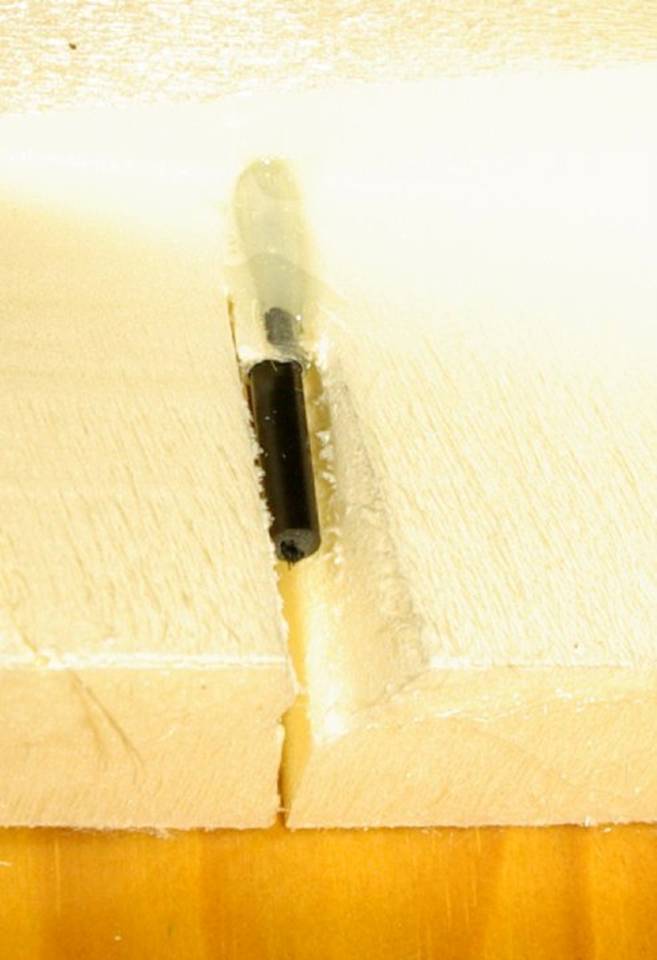
For the
ailerons:


The wing of
the first prototype, with unguided aileron rods (vibrations in flight):


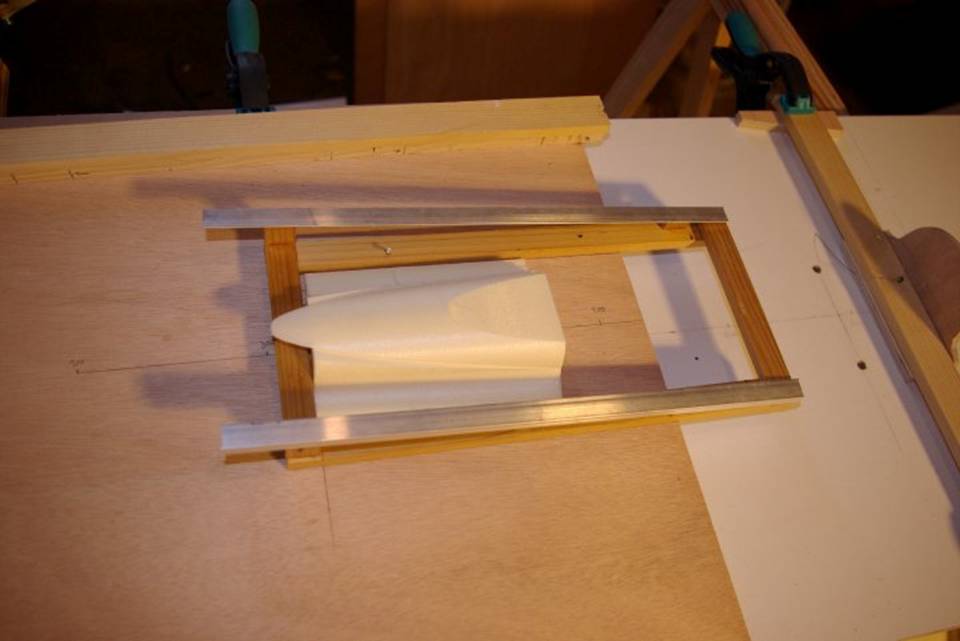
Making
guides for cutting the fuselage:


The new
wing cutter, easier of use:


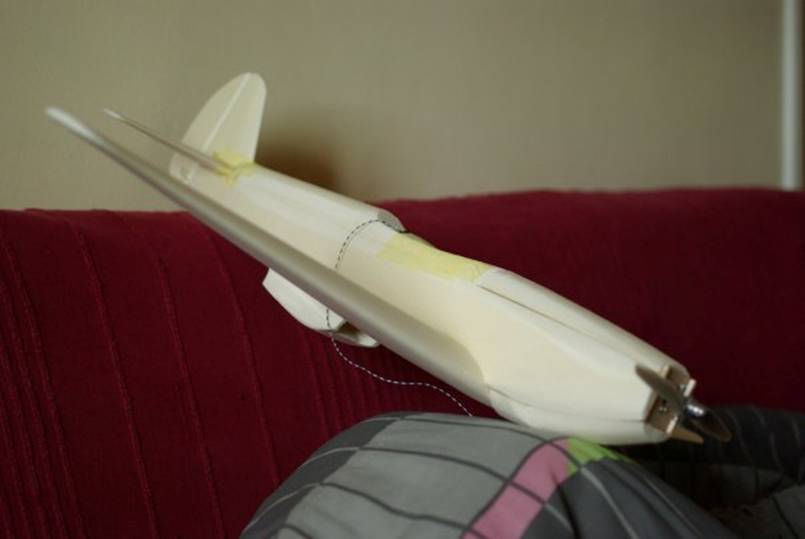
The first
prototype with motor in position:


Here, I was
estimating that the aircraft should weights 500 g in flight condition:


The motor
mounting is very trash… here it’s 441 g almost ready
to fly!

This pics was taken after the first flight:

Four days
later… cold weather (4°C) makes foam fragile!

The wing
hurt the cold ground, etc.


No
problems! Back again, with paintings, 3 days later…
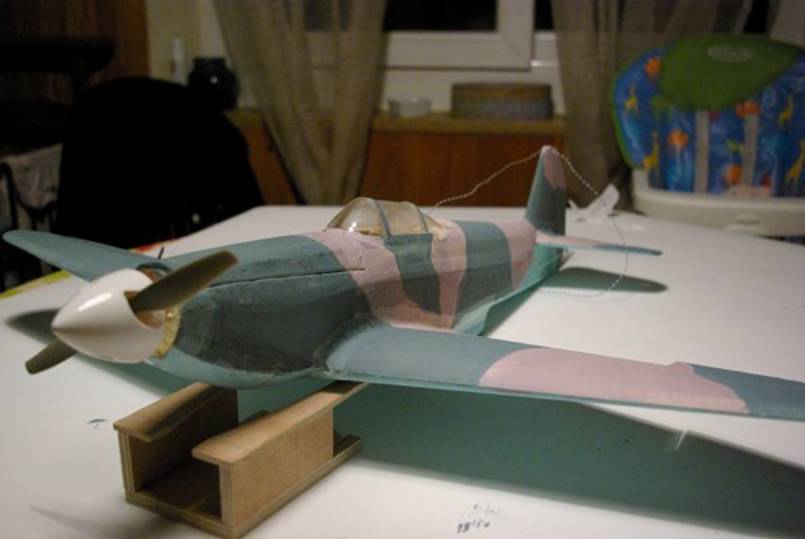
I expected
gray not pink!

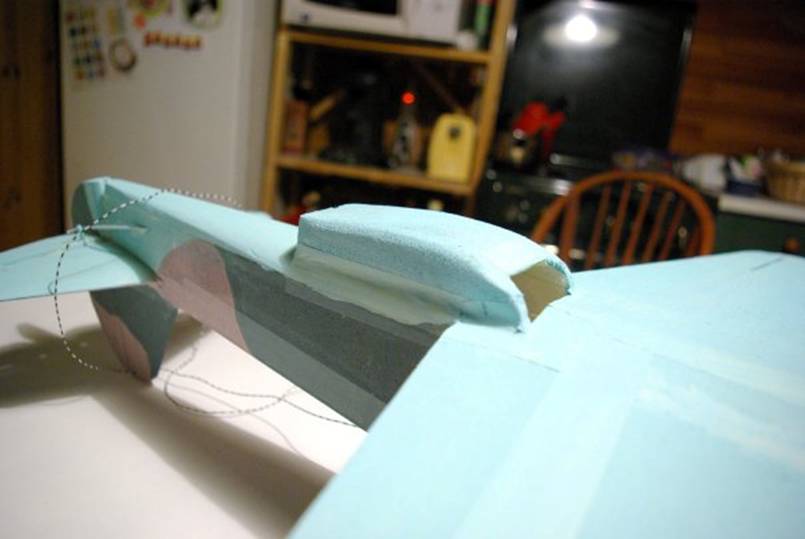
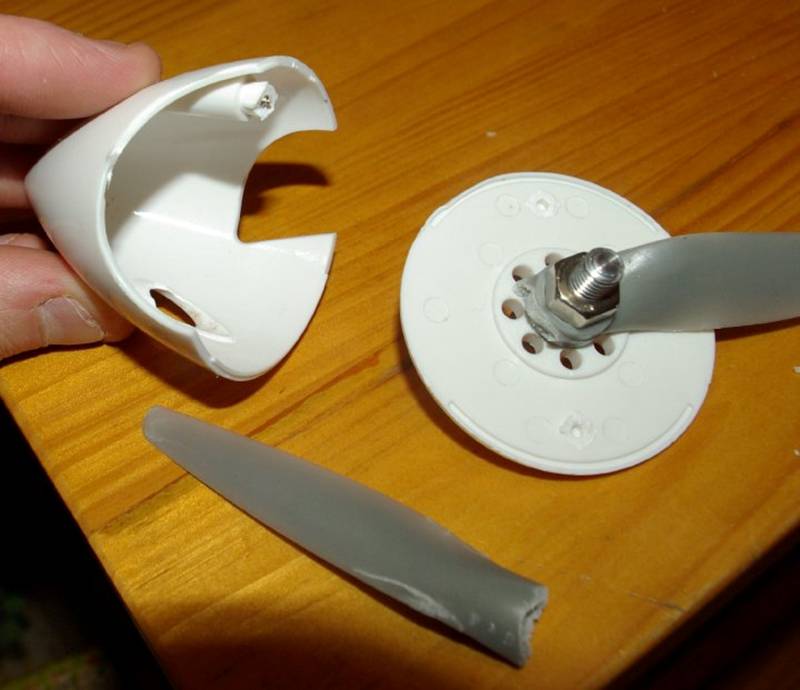
And stupid
me! I forgot I had a spinner to put on that motor! 1 cm too far from the aircraft’s nose…

The karman is in adhesive paper tape:


Bullshit!!


One week
later, crash on a soccer cage (stupid me):


(This
aircraft was repaired and could fly again)
Improved
aileron control rod (no vibrations):


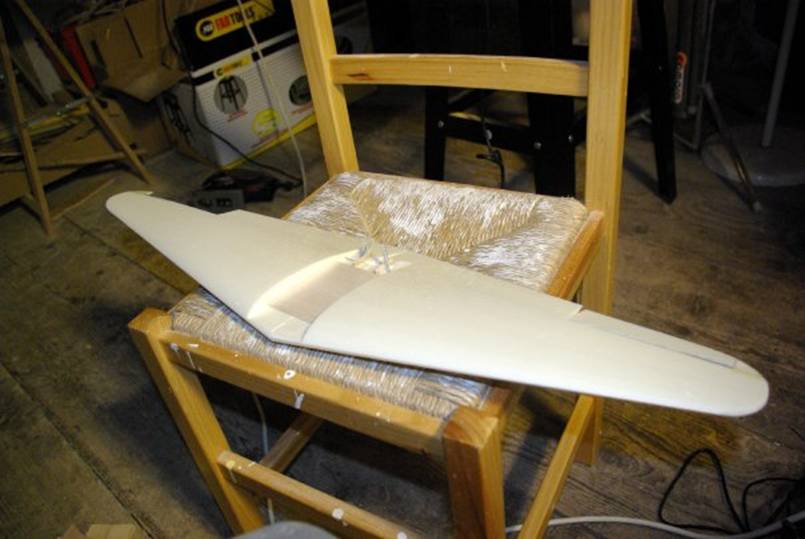
Wings of the
second prototype:

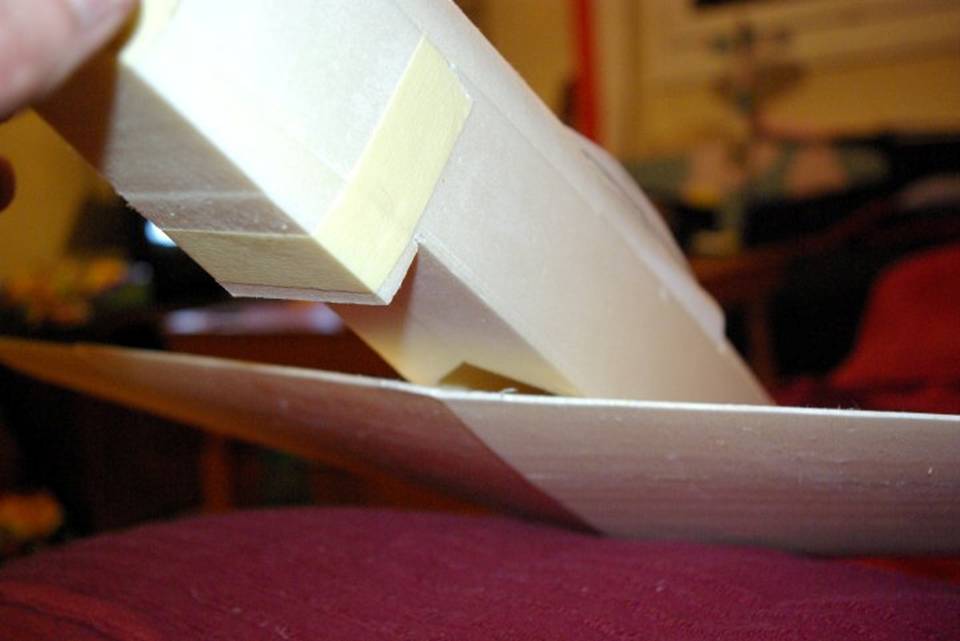
Cutting the
curved parts that were missing on the 1st prototype:


The 2nd
prototype:

Only 2 axis:

No (or very
few) sanding was needed at this point:


The first
proto is behind…


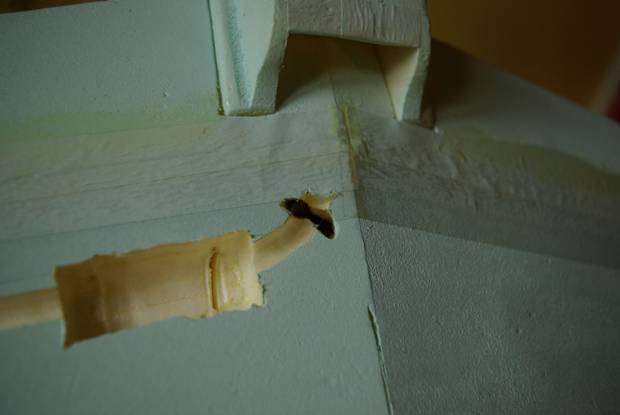
The air
intakes:


The 3rd
prototype (all parts cut in one day):


I had
troubles with the 3rd prototype! A crash after hand launch while I
was trying a bigger prop… repaired and back again.
I’m now
trying to install the Elogger and pitot
tube on it:


Tool for
cutting the trenches:

An old
aircraft!